Lessons from my first Long-term Shelter
When we began Ways of the Earth Living Museum in Indiana, we each planned to build our own long-term shelter, and each needed to be different so our guests would have a variety to experience. I had fallen in love with the spiral lodge of the Algonquin which was only known because they found the post holes at an archaeological site. They made conjectures about what the structure would look like but no one really knows how the roof was, or even what the building materials were.
I decided to build this and started with a model, which modified my ideas for the what would work for the roof. We had a volunteer week so I got a lot of help in creating the initial structure.
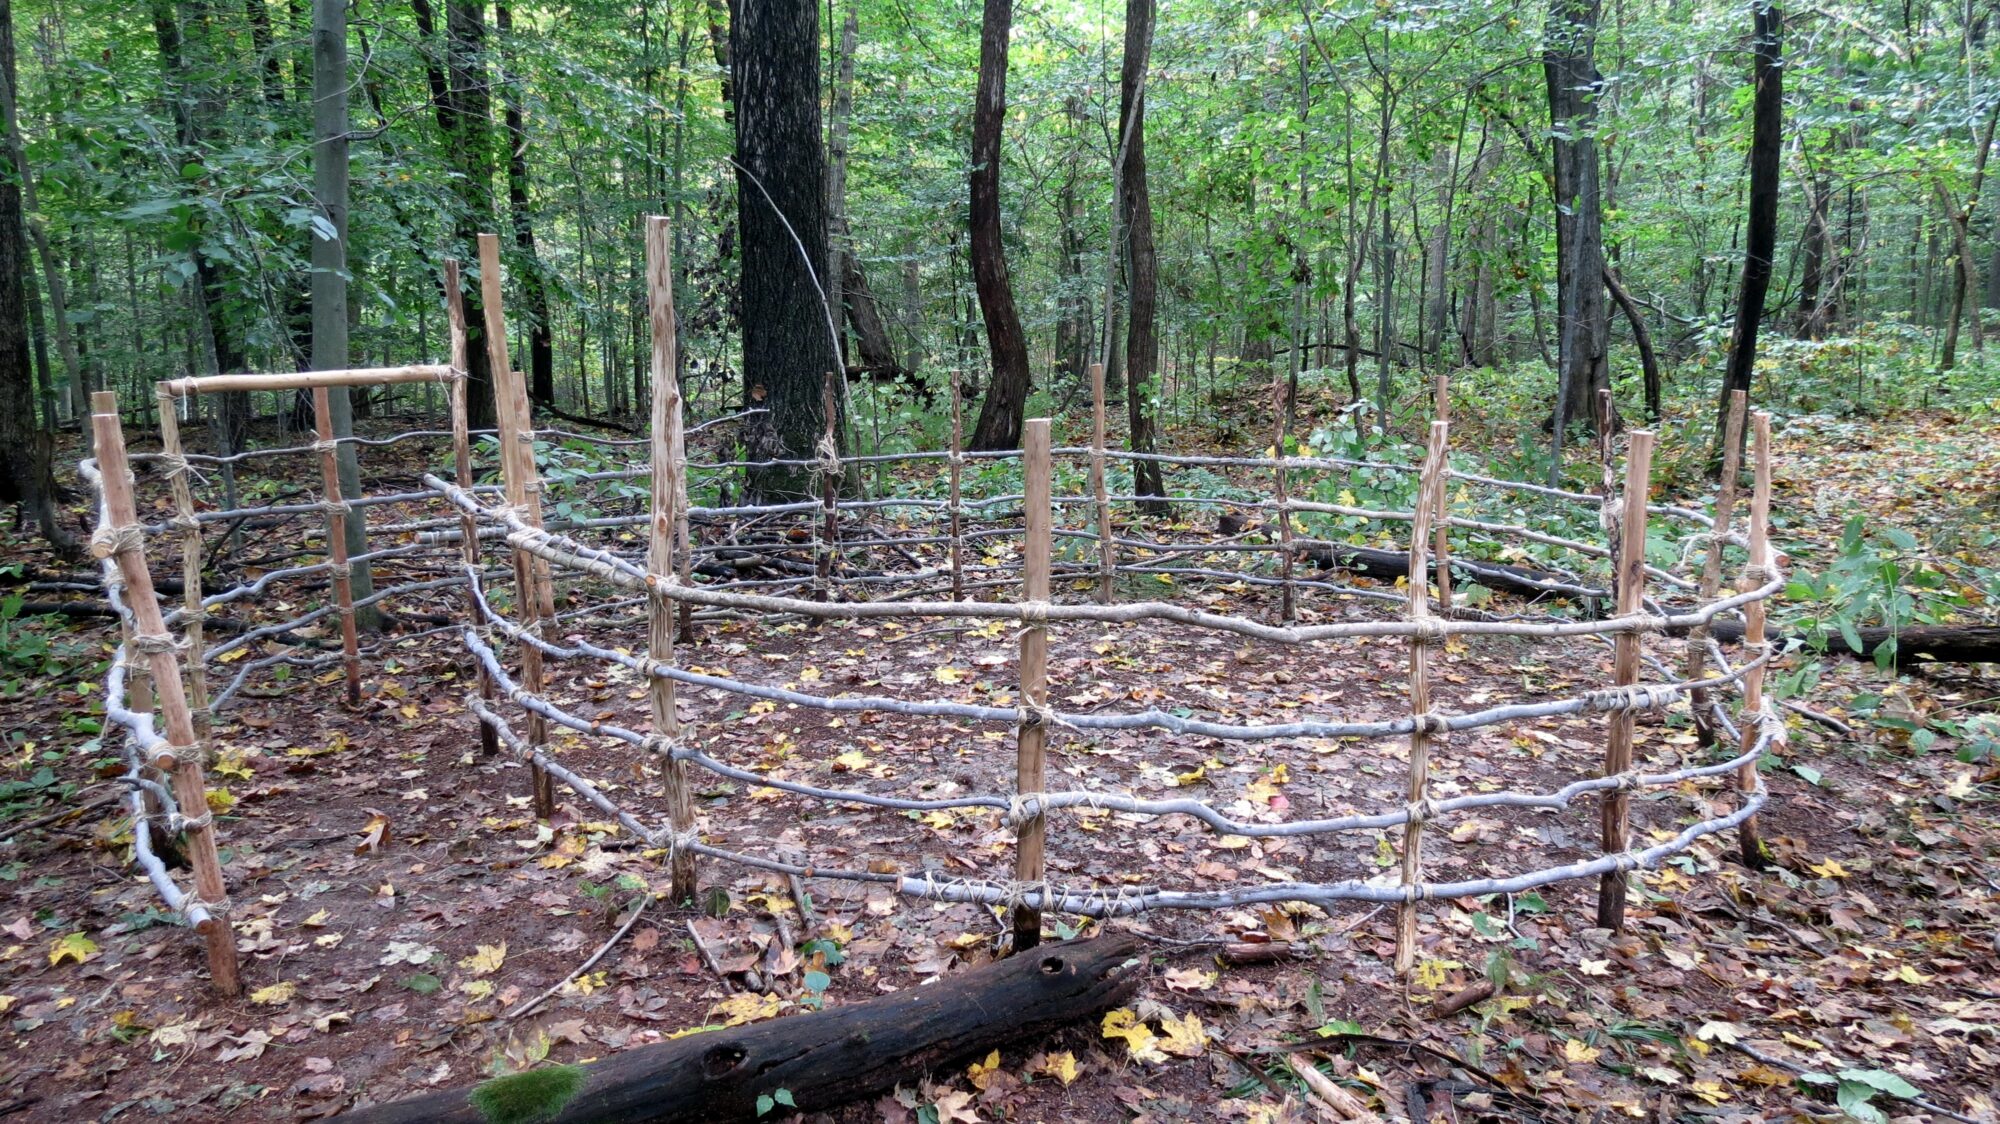
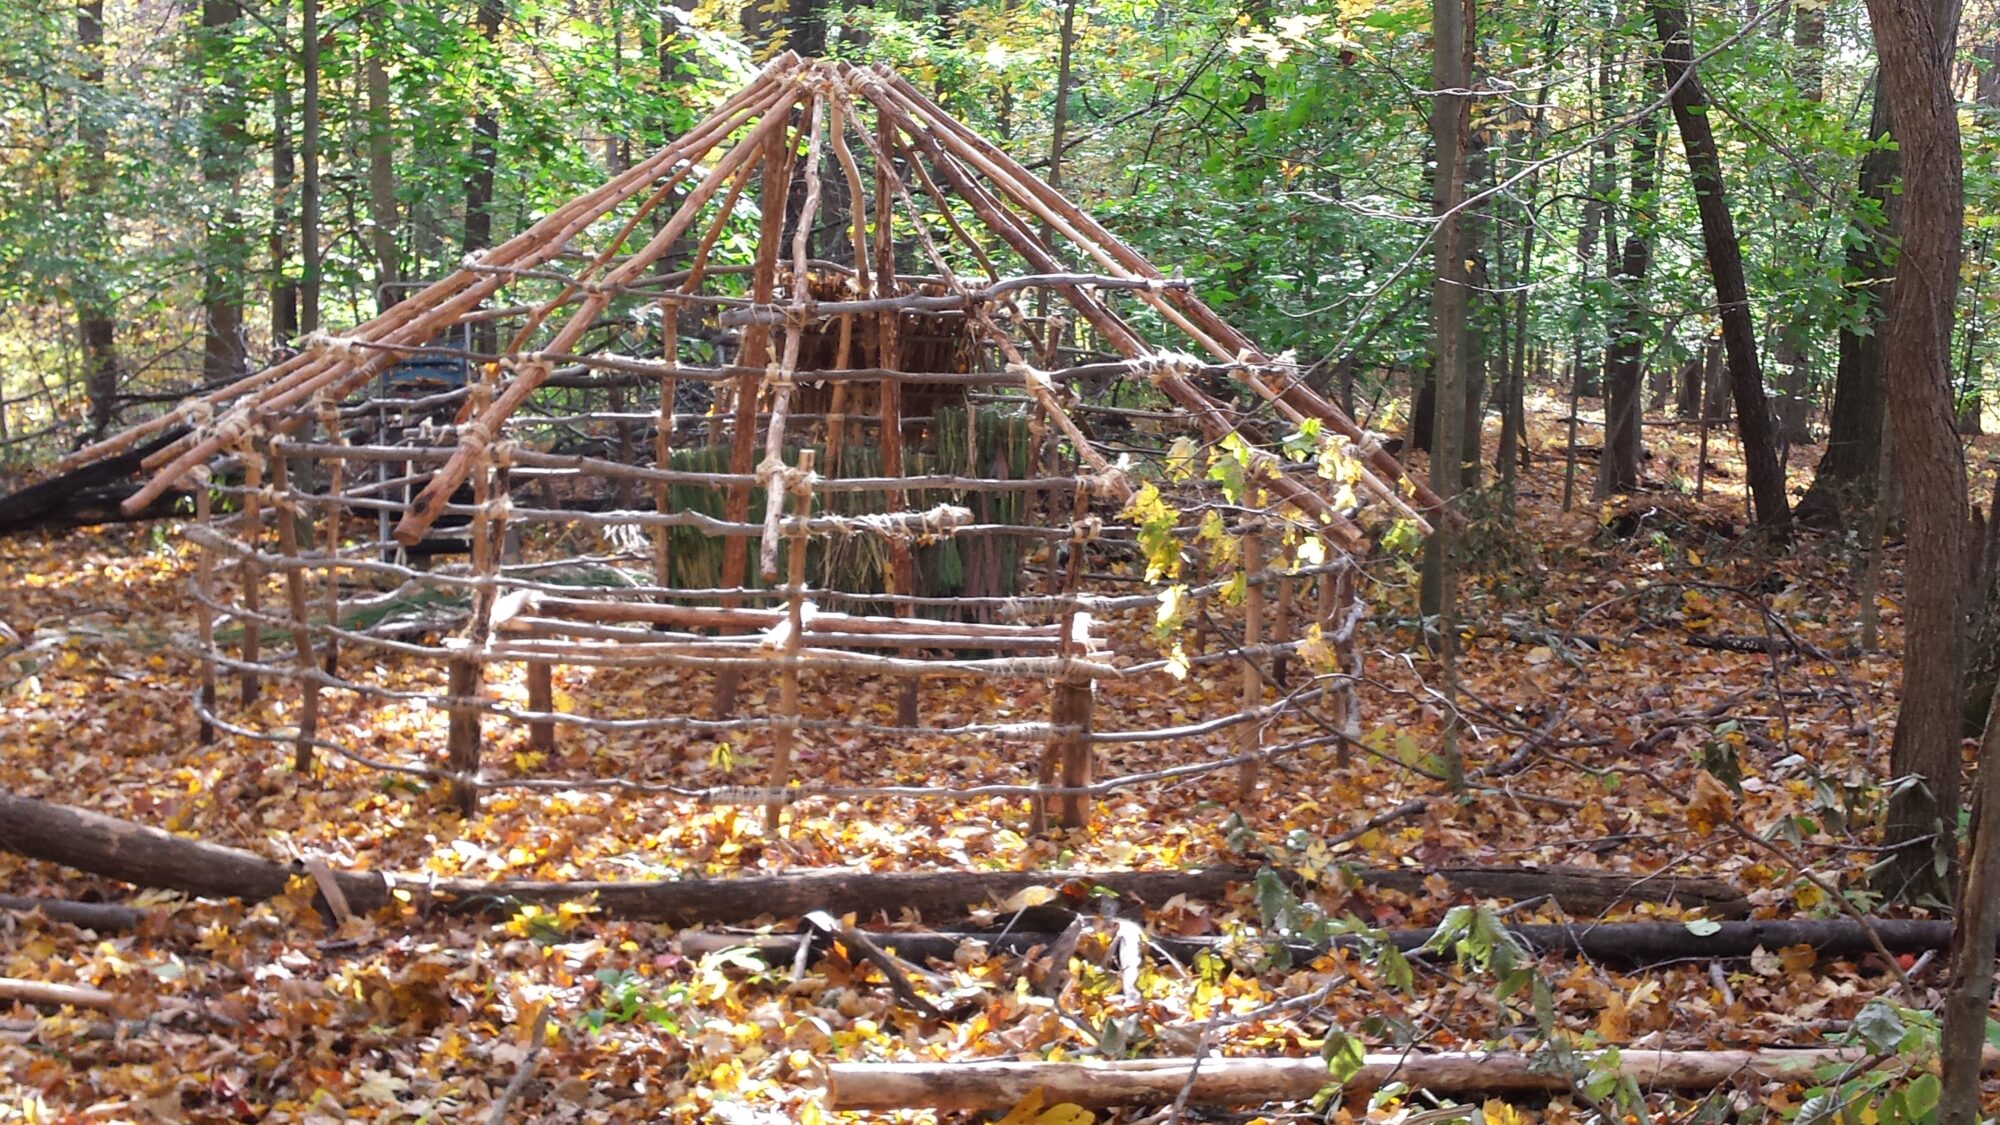
The structure is 10 feet with the spiraled entryway added another 2 ½ feet. The poles in the ground were deadwood, originally 5 feet, with fire hardened ends pounded into the ground about 1 ½ feet. Then green saplings were bent and tied to create the walls.
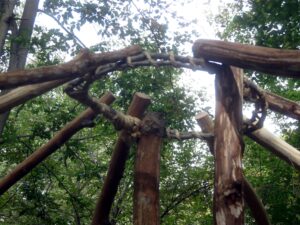
Originally two larger poles were pounded into the center, but eventually, as I added material, a third support pole was needed for weight bearing. I created a twined sapling hoop and attached into the notched poles. This had to bear a lot of weight and I was afraid it was the shelters weak point. But fortunately, for the year and a half that this stood, it held up fine, even with a couple feet of snow on the roof.
We then began, adding the roof poles.
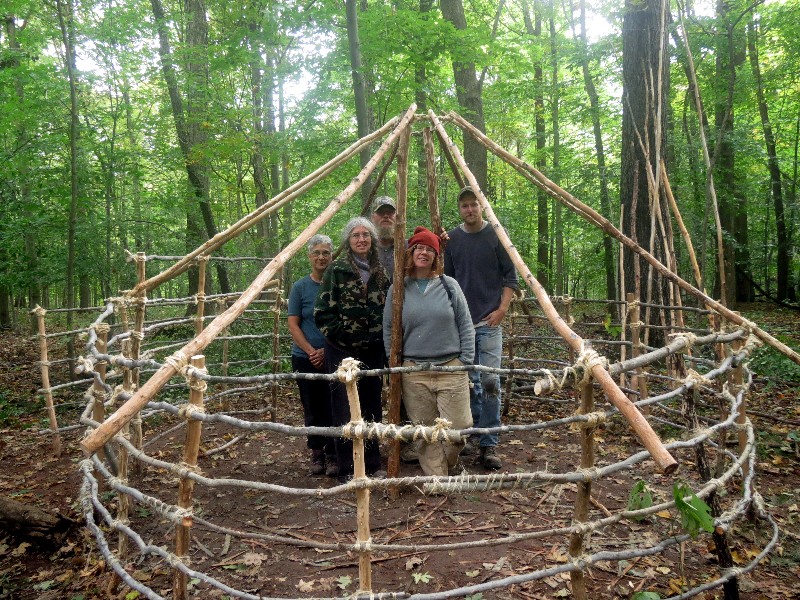
Here’s my great helpers and with the roof frame started.
From here, I had to finish adding the roof beams and then did a spiral wrap to the top with green saplings. Here it is with just a ways to go with the spiral roof wrap.
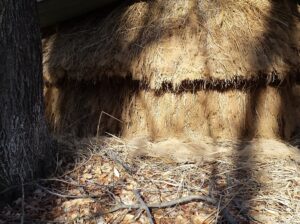
And then it was time to thatch. I had decided on thatching, since it would be different than what the others planned. In this environment though, it wasn’t a good choice because it took an incredible amount of grass to thatch this small shelter. We ended up using ornamental grasses we had to go harvest from folks all over the area. It was a great learning experience, not to mention, beautiful, so glad I did it.
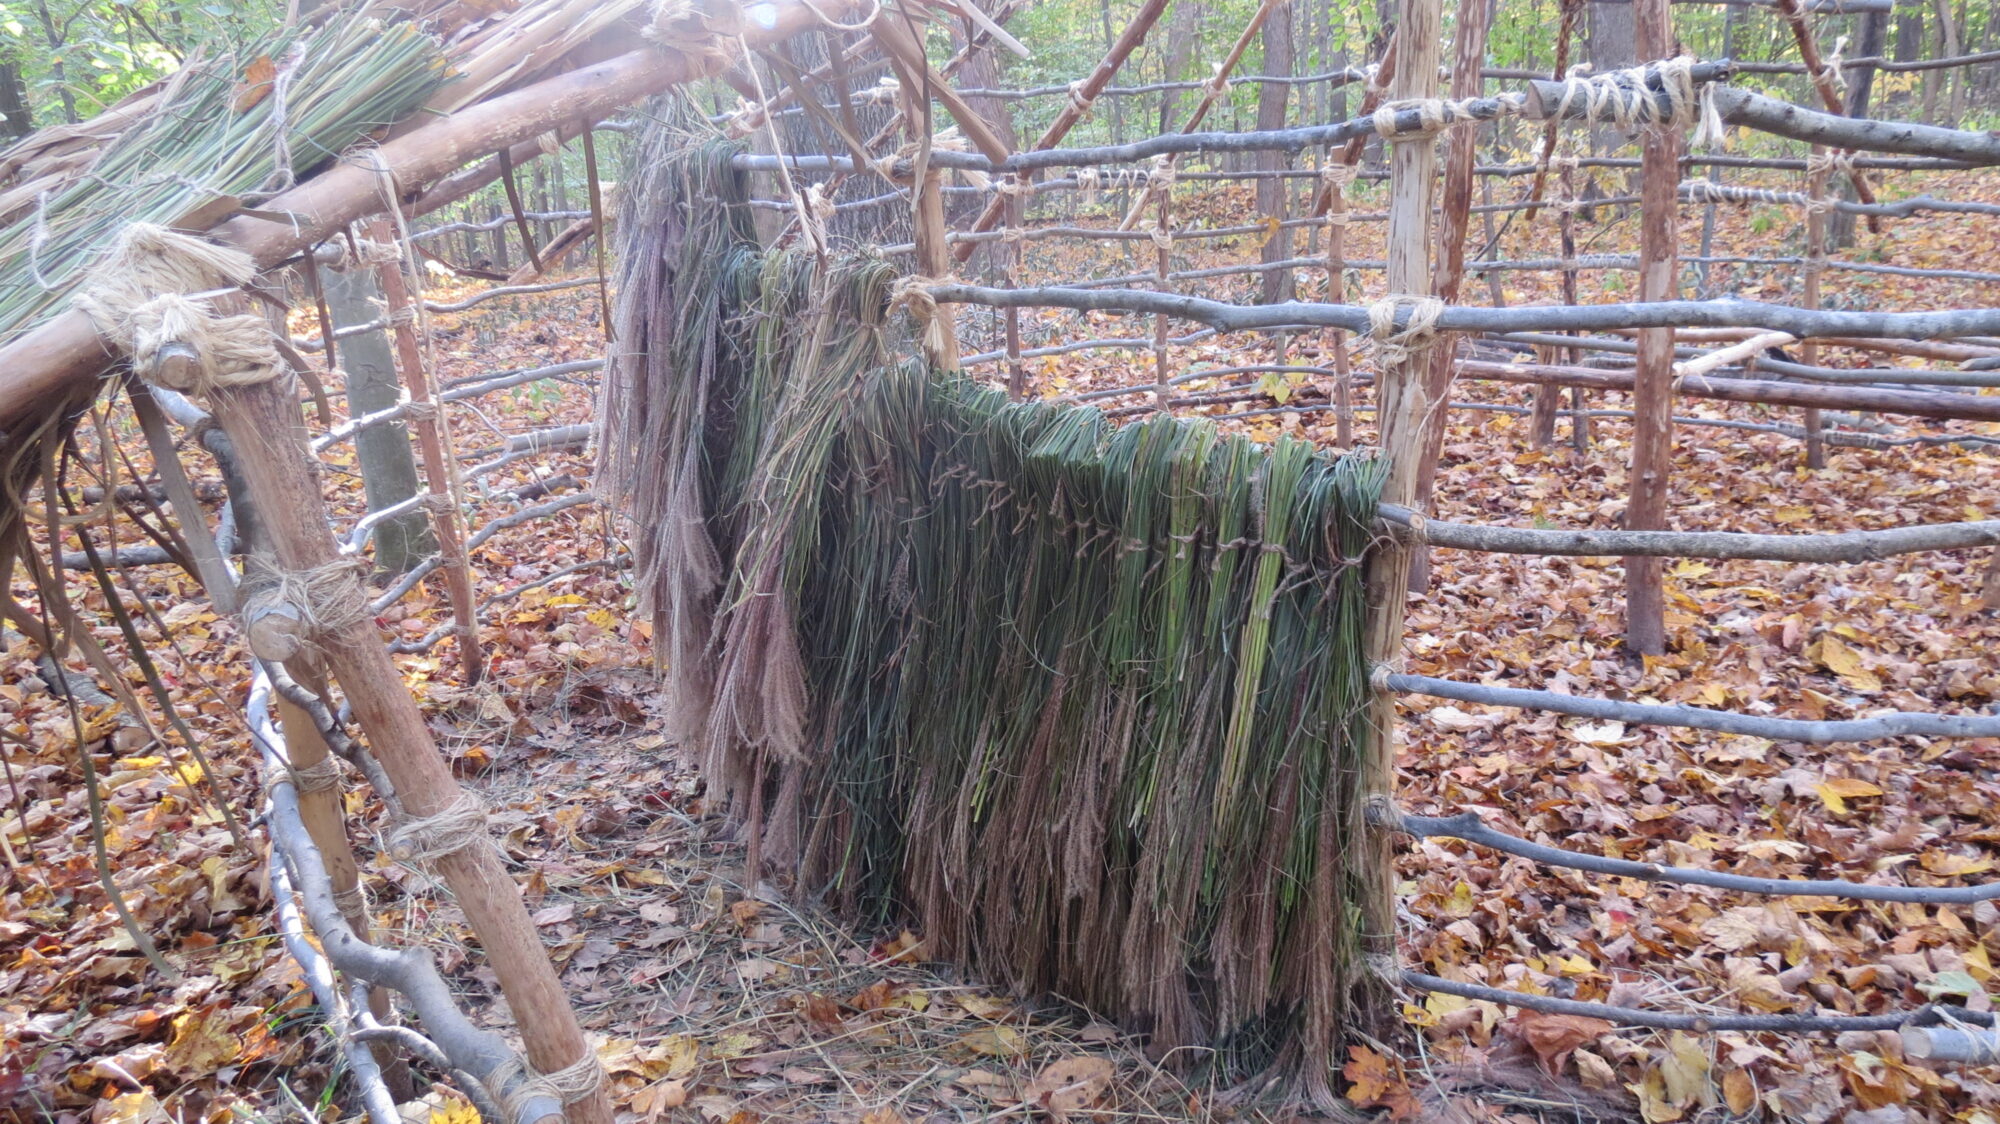
Some things to consider if considering thatch. First, like I said, it takes so much more material than you might think. We’d go and harvest a huge amount and in a surprisingly short time, it was already running out. We thought we had enough to finish multiple times. Another consideration is how much string it takes to tie thatching. If you were to use natural cordage, it would take a tremendous amount. The last thing I found, after moving in, is that thatch is great when there is no wind or gentle wind. A strong wind, however, can blow the cold right through the grass. I had planned a debris wall for winter, but my first winter I ran out of time so had just the thatch.
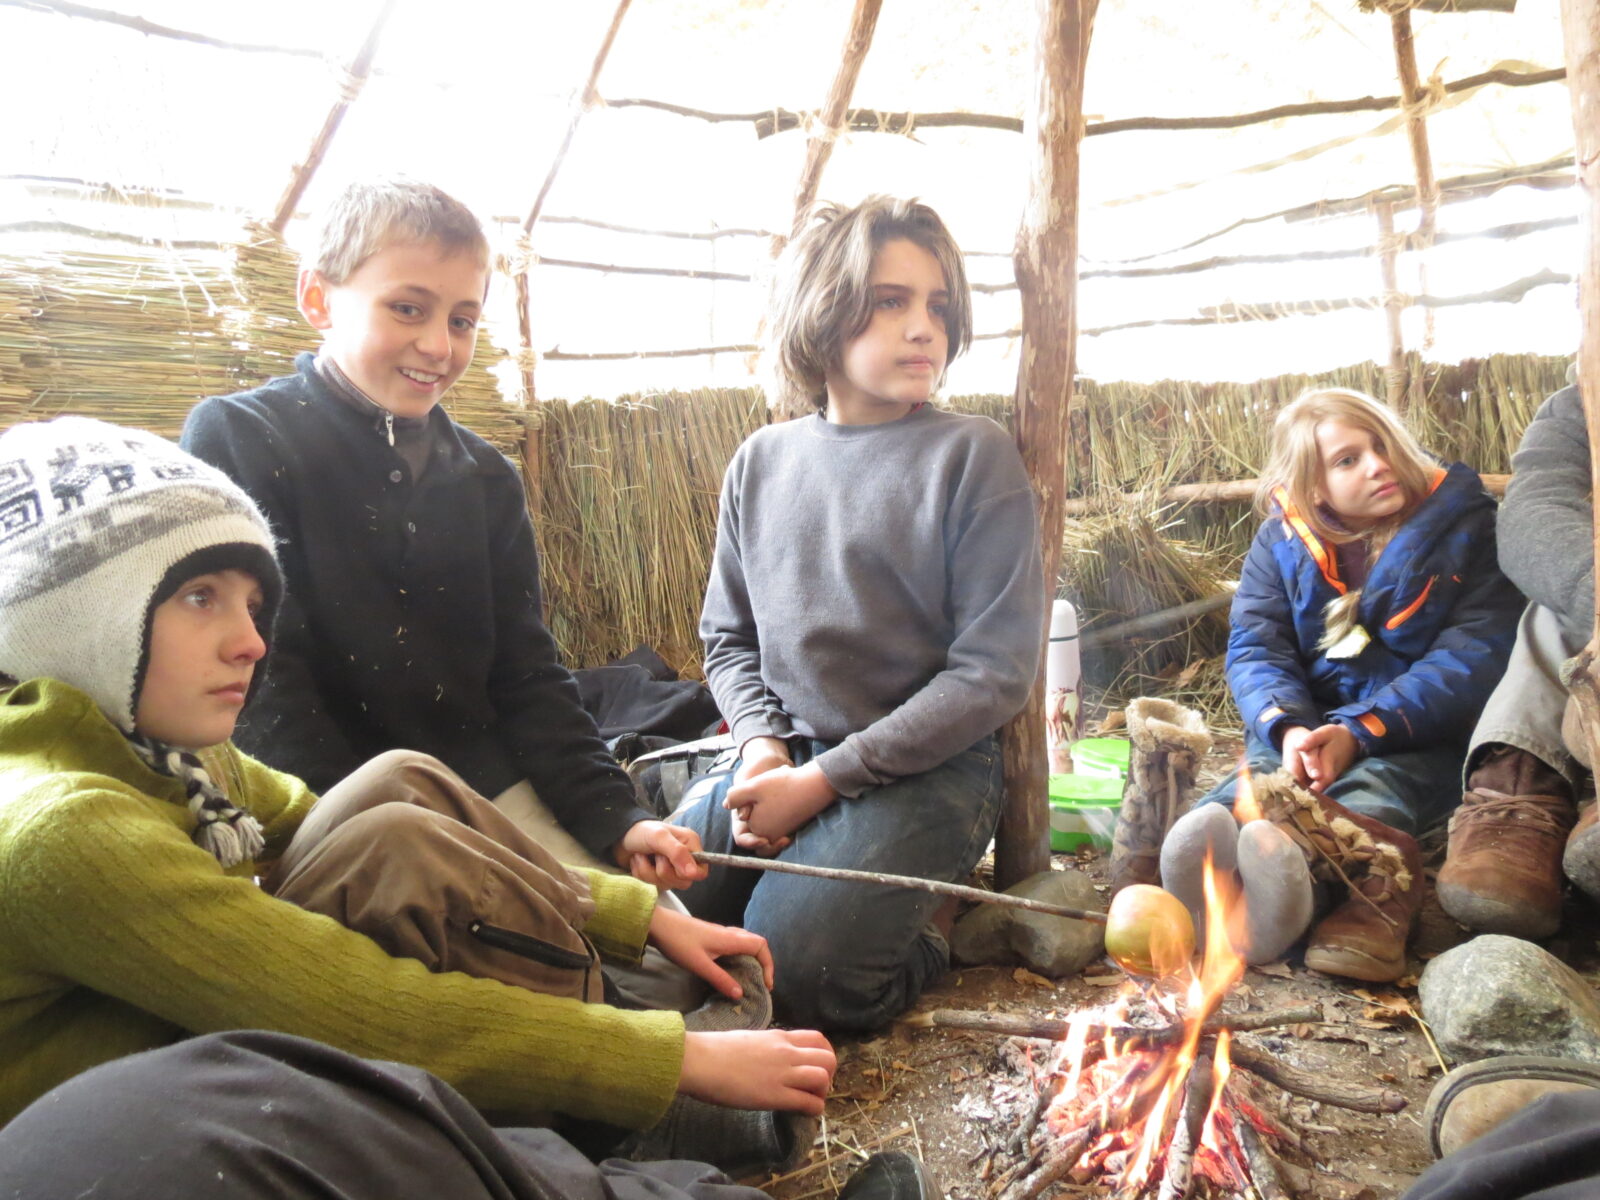
Wild Nature Project kids came to help for a day and we had the first fire inside the shelter. This is about a month after starting thatching and pretty much thatched all day, so you can see how long thatching takes.
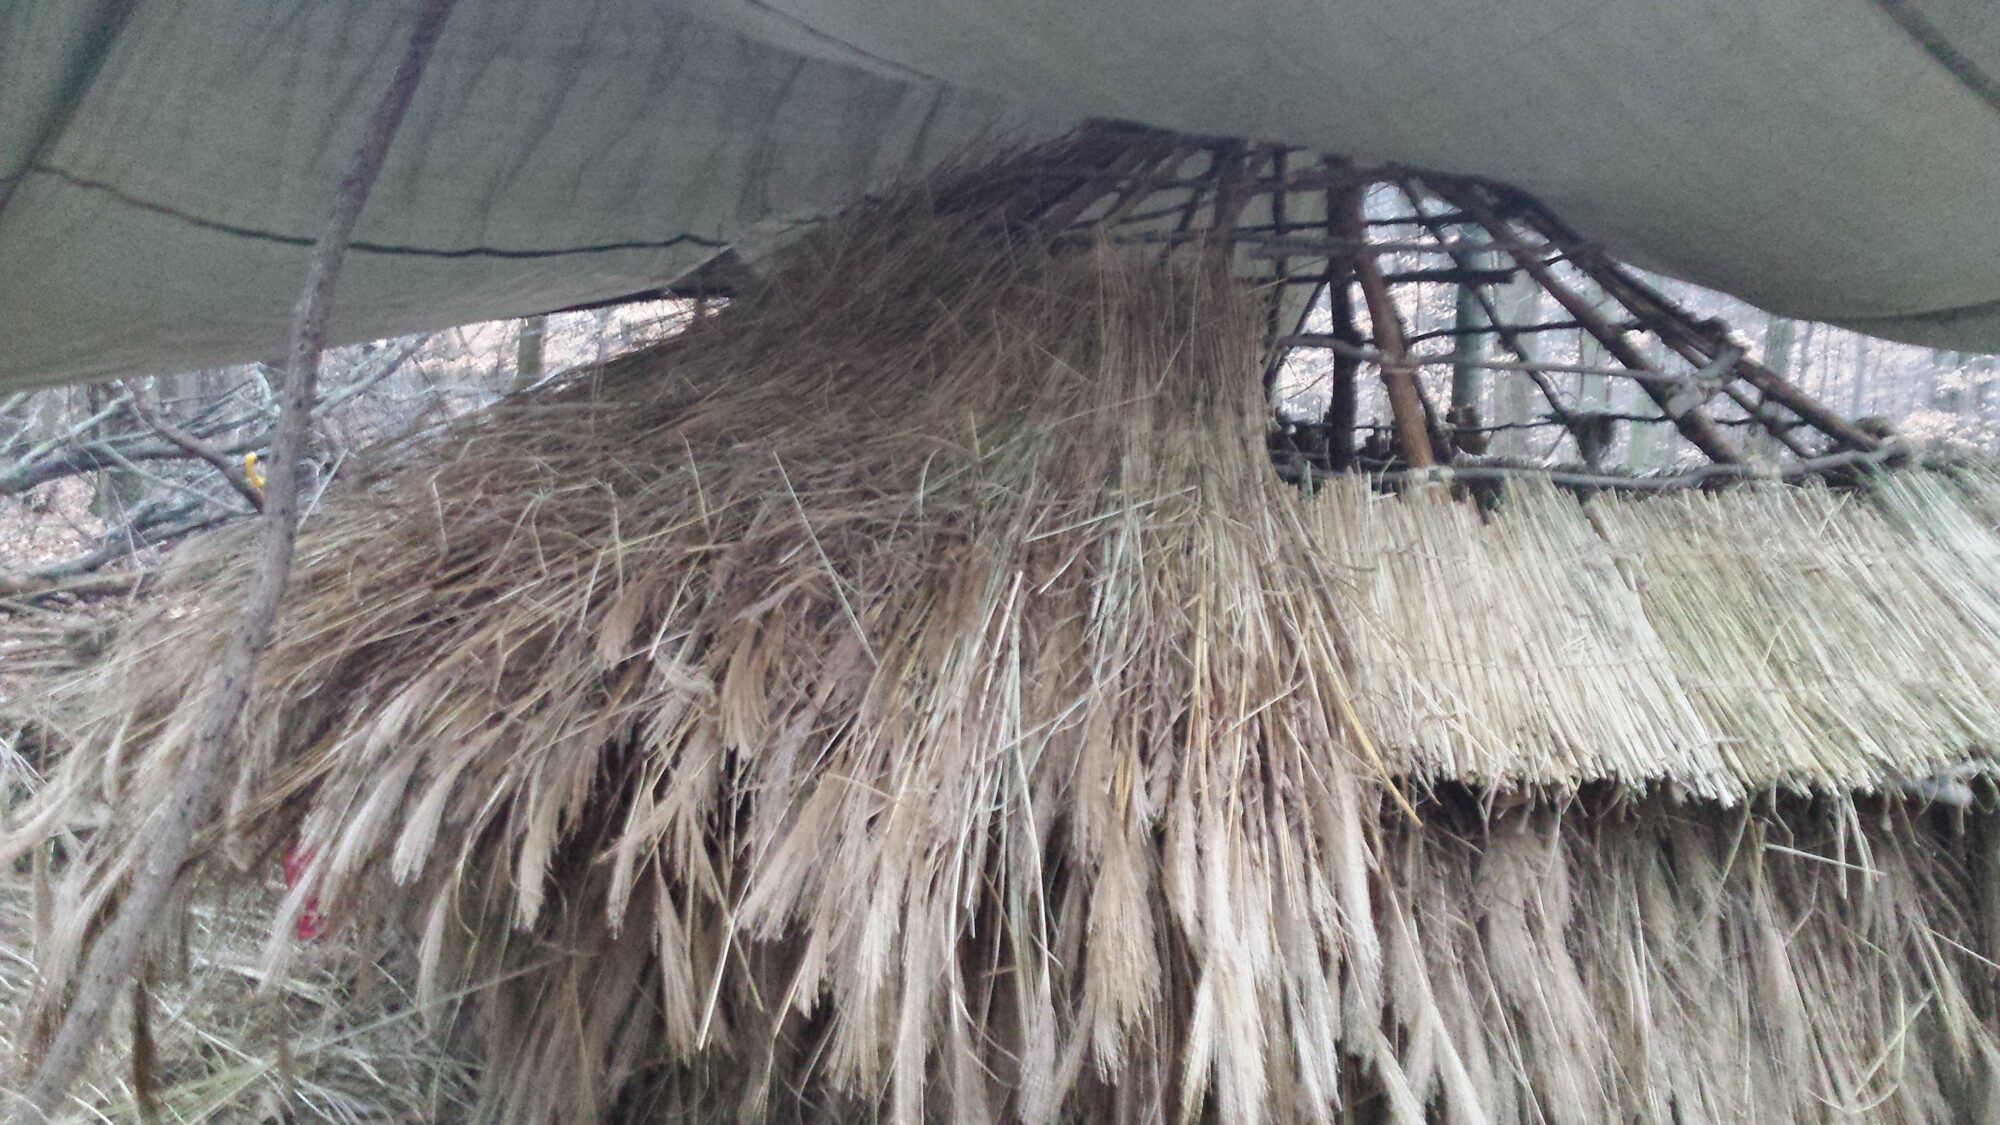
Here it is about two months into thatching. I made cattail mats for the roof edges to support the roof thatching and here we’ve started adding the roof thatch. We probably had to stop to go harvest more grass!
Here’s haircut day. The top still has a tarp on it, but I got moved in.
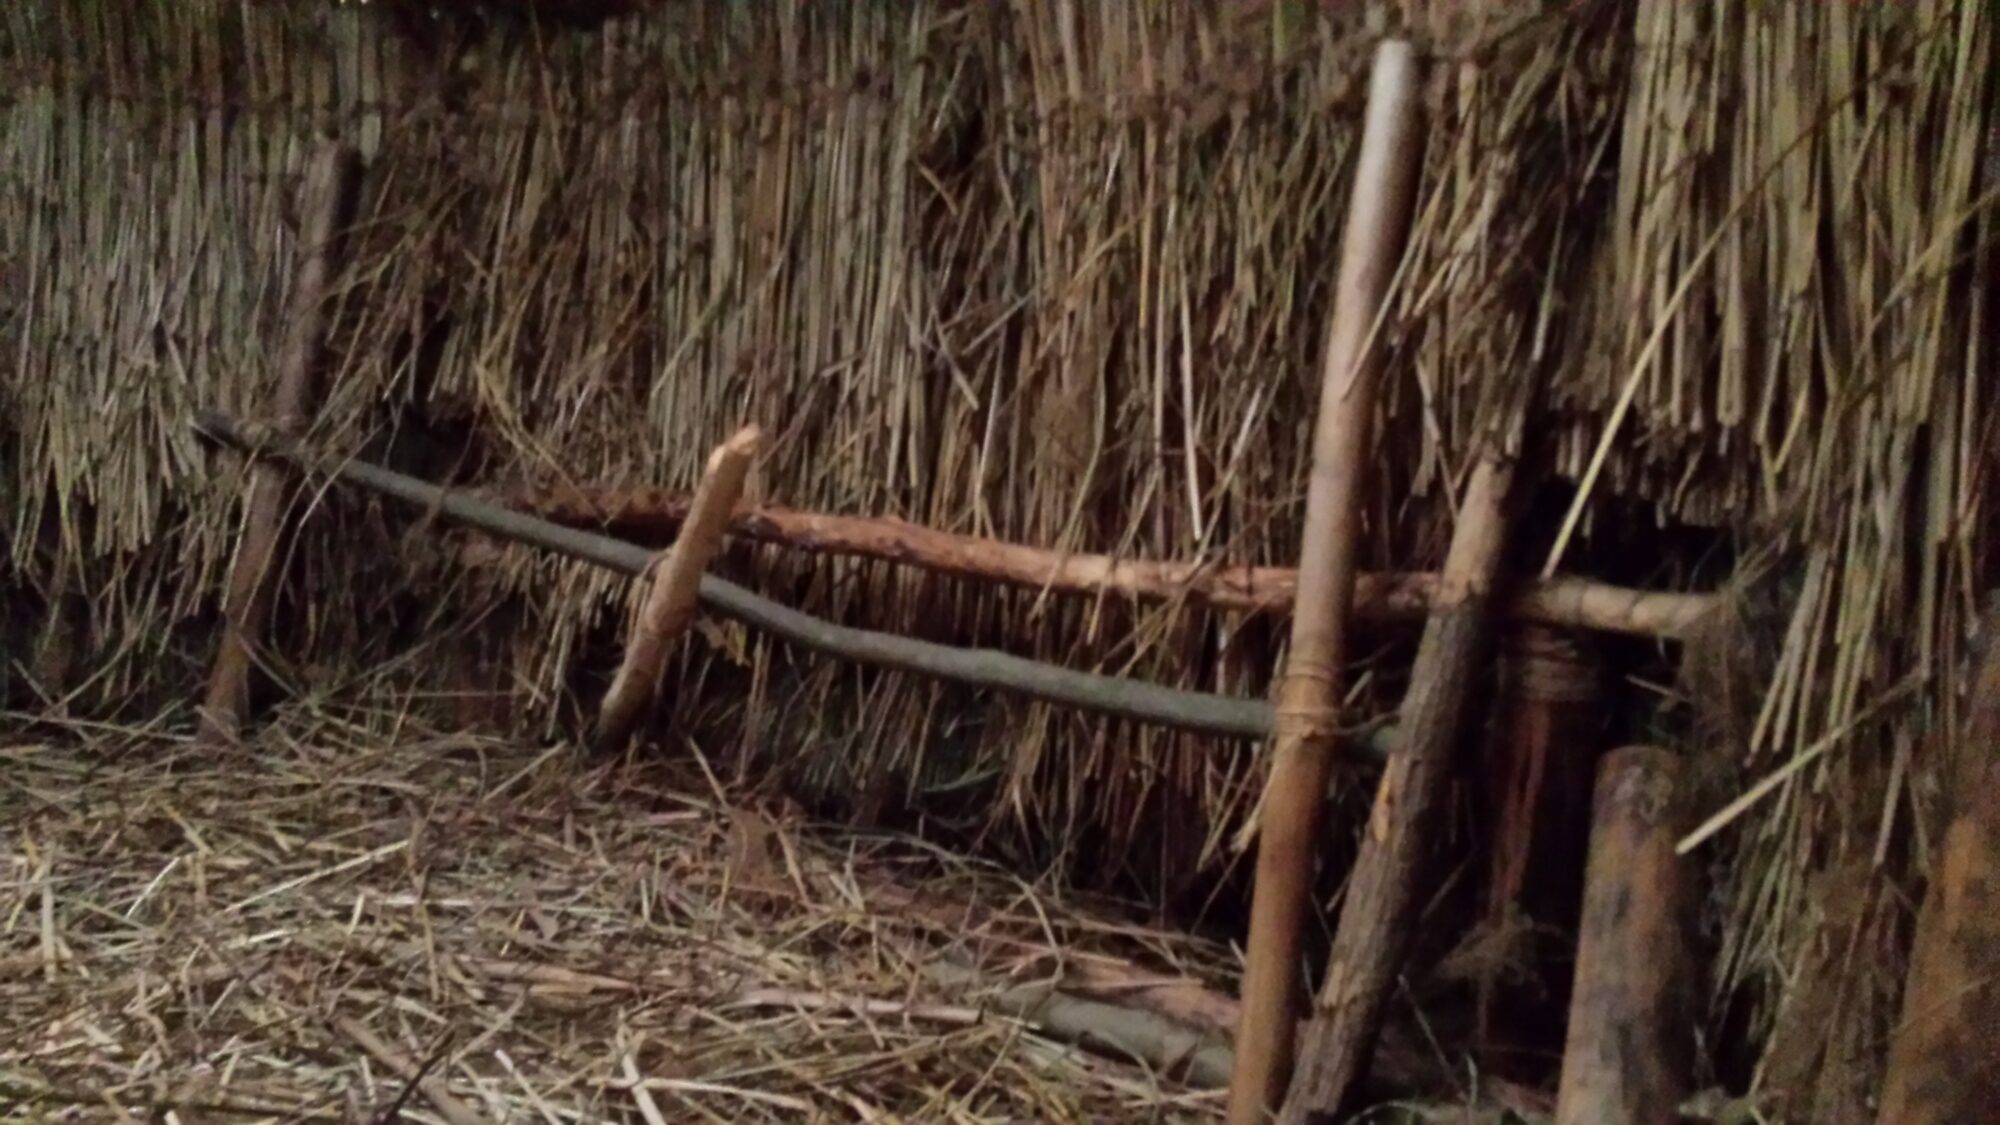
I had tied in a frame for a raised bed before thatching, but by now, the ground was frozen, so I couldn’t pound the frame in. I ended up just having my bed on the ground and never finished the bed. The frame that was tied in made a nice back rest though, once a hide was draped on it.
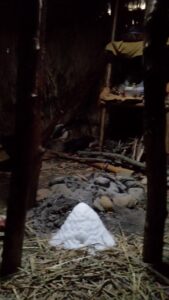
I built a number of shelves in the shelter for storage. My fire pit was offset from the center, and when it snowed, I would get a little pile inside. I did not make a smoke hole cap, as very little rain or snow actually came in. One great thing about this shelter, I and don’t know if it had to do with the spiral entrance, but it drafted incredibly well. I never had problems with getting smoked out. sometimes, it might hang at the ceiling if the air was heavy out, but mostly, it just rose right up and blew away!

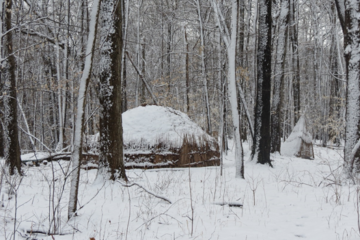
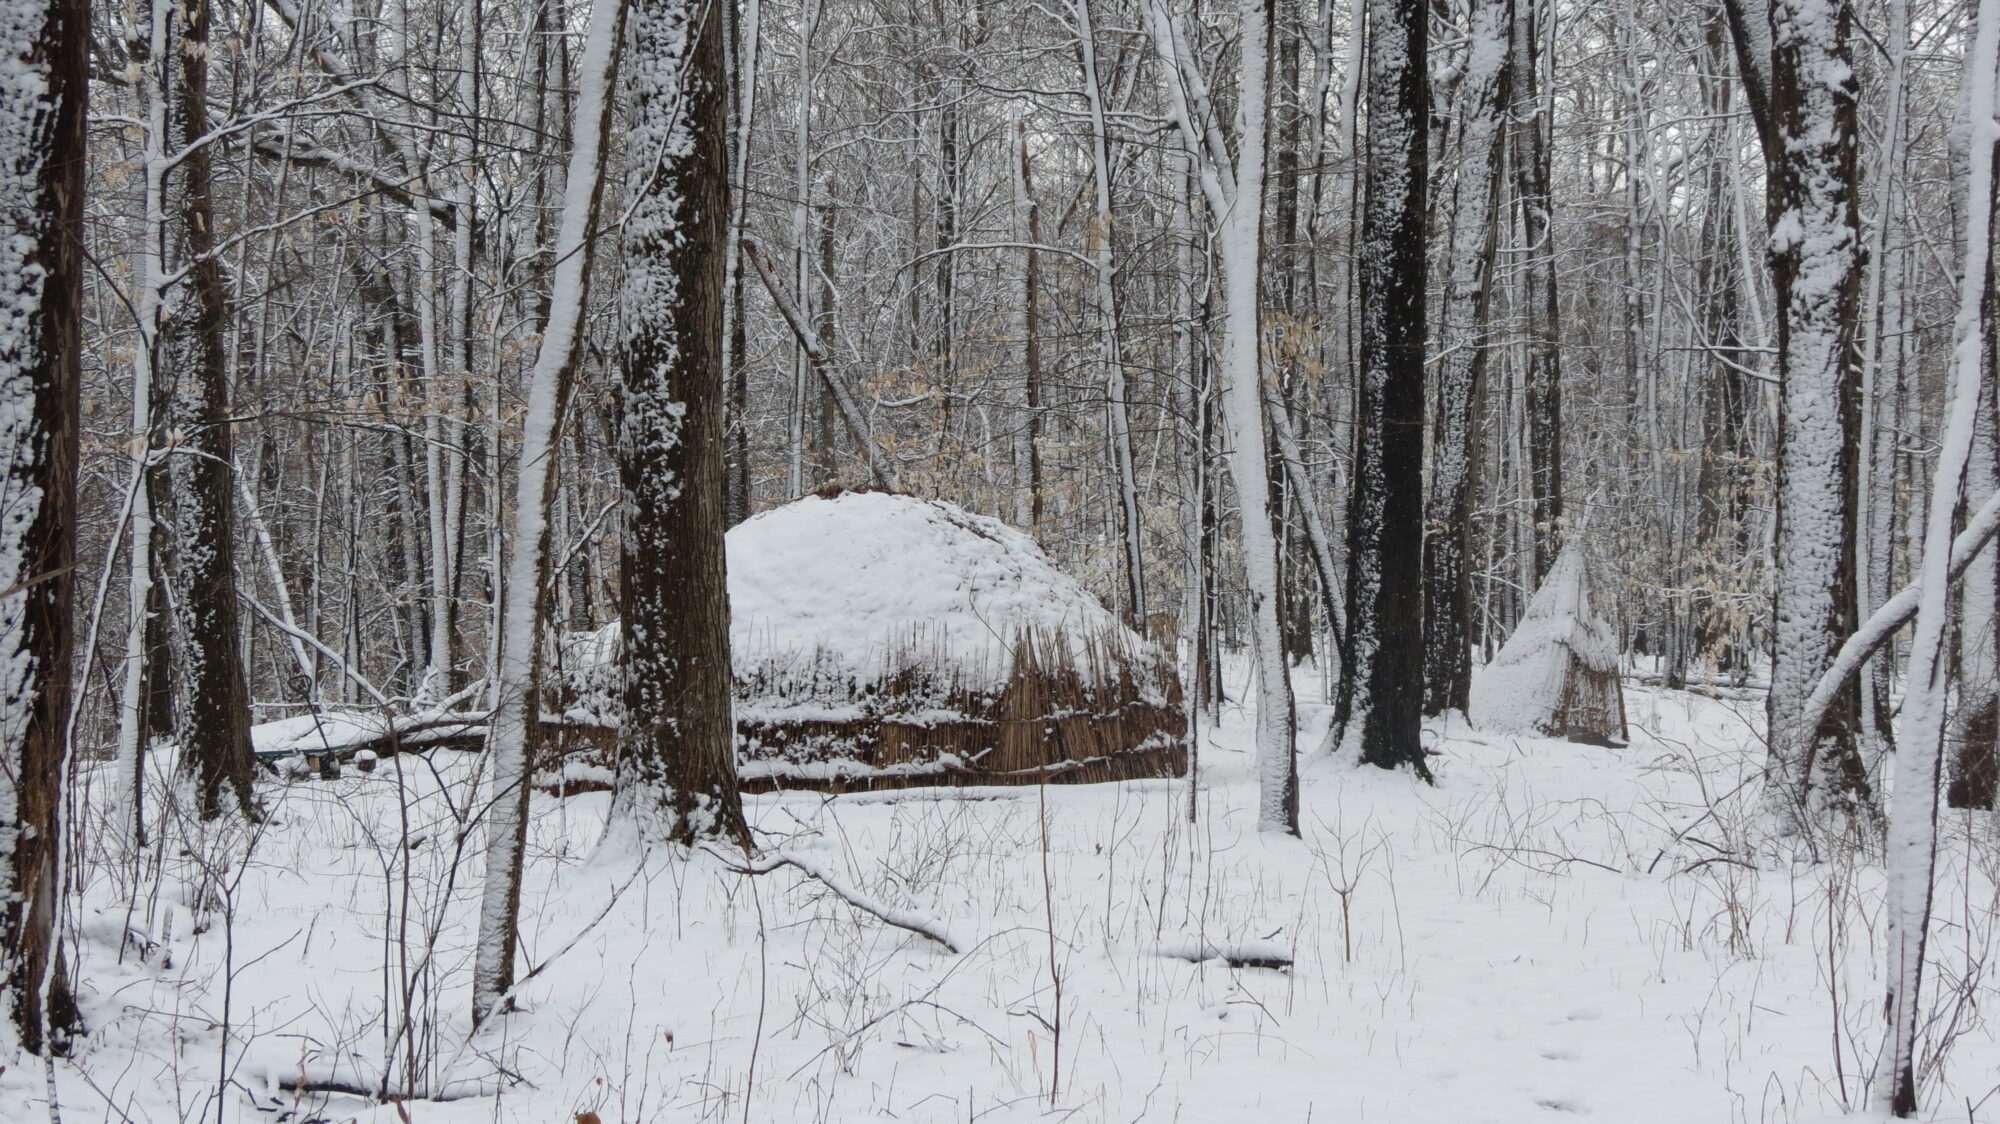
Here she is in the snow. I stayed in this shelter all winter except for two nights. It was forecast negative 15 degrees Fahrenheit with 38 mile per hour winds. I wasn’t willing to risk our lives on the shelter, especially with the winds, so I loaded up my kitties and we moved down to the office for a couple nights. Otherwise, with a small fire, the shelter worked even without debris walls and that was to a temperature of negative 5 degrees Fahrenheit.
I found, since I only used small wood and didn’t keep the fire going for the night, that the shelter got down to about 3 degrees warmer than it was outside. So it was cold until you got a fire going, and I had some problems with water freezing, but those are the lessons you learn to deal with and the fun of living in a shelter. When it rained, I found a few leaks and added thatch over those spots, but it was localized. One really windy rainstorm, however, blew the rain threw the thatch everywhere and everything in the shelter pretty much got wet. So there’s always something to learn!
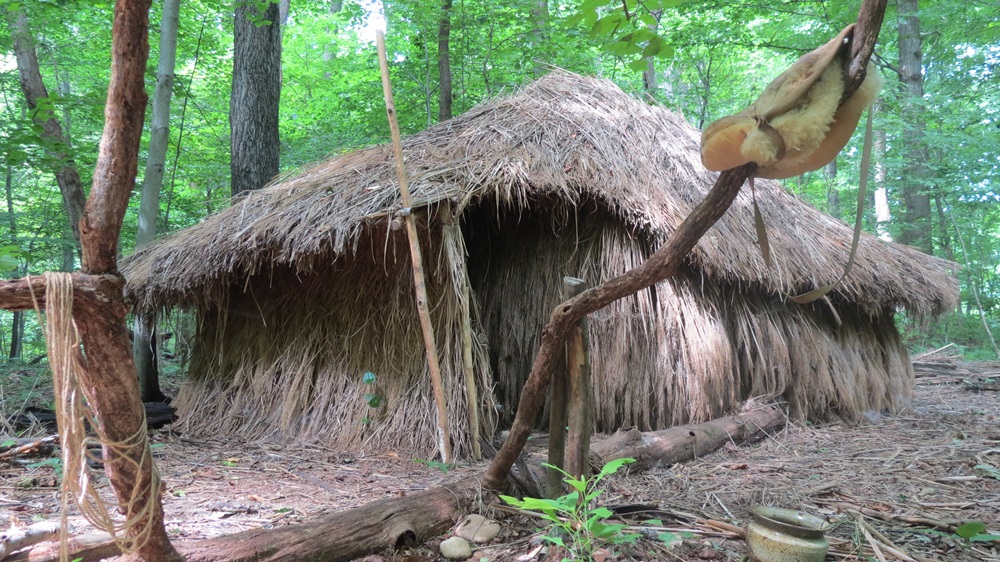
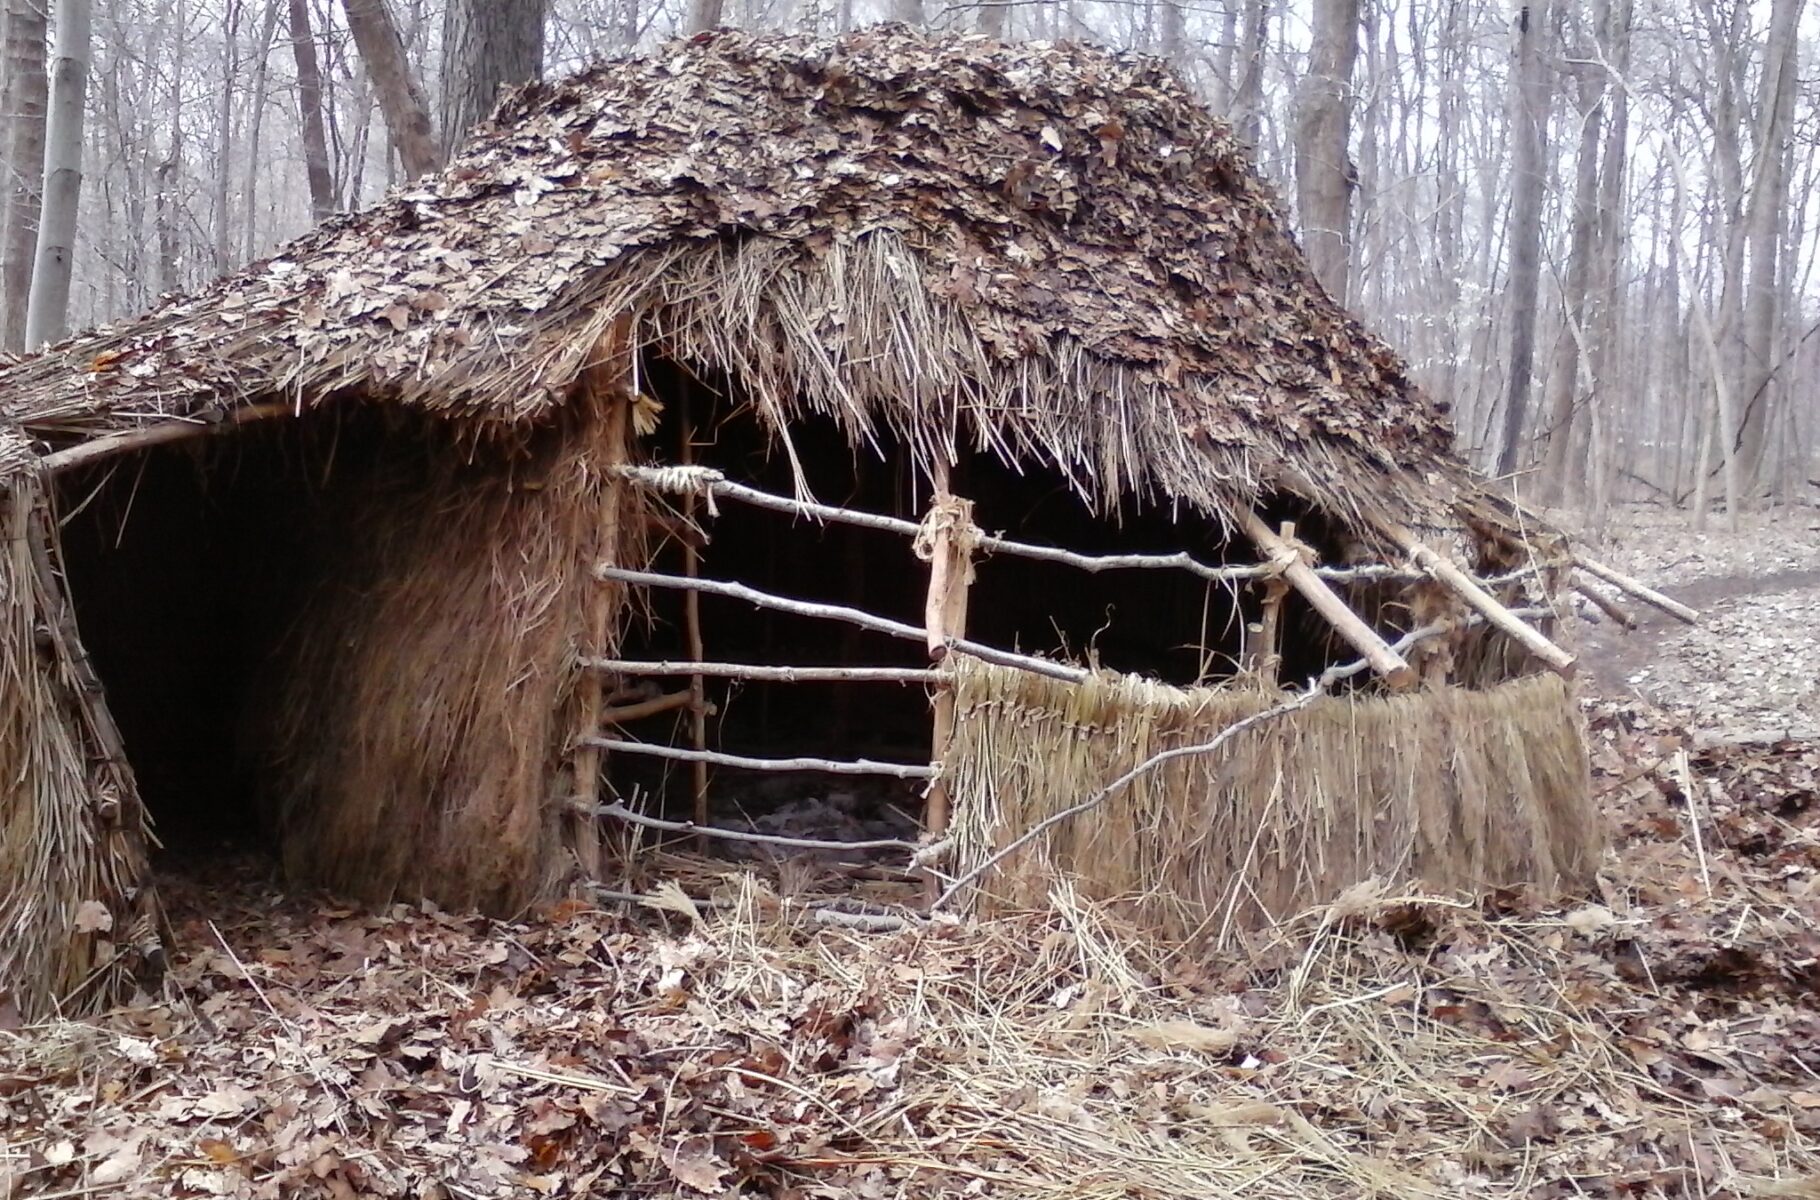
Here she is after surviving her first winter and enjoying spring and summer.
After the first winter though, I decided to add the debris wall. I added another ring of stakes pounded in, used saplings to wrap for strength and then lined with reed and cattail stalks. The wall was about two feet from the interior wall and ended at the roof, so most the water would flow down the outside.
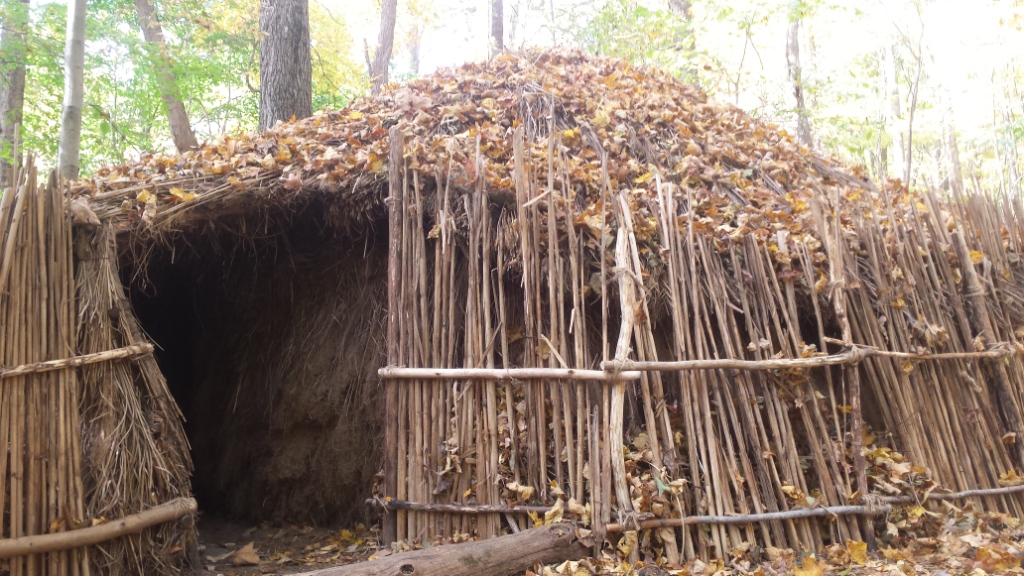
And then it was time for leaves- lots and lots of leaves. I filled the wall densely with leaves, creating a two foot wall, in addition to the thatch. Needless to say, the shelter was toasty warm the second winter.

I also built a lean-to roofed with debris to help keep some of the rain off my firewood.
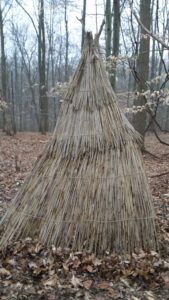
My last addition: a latrine cover. When you have to go out no matter the weather, it’s nice to have a little cover, and in our case, a little privacy, when you need the latrine.
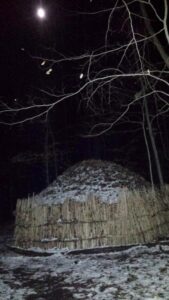
Here she is all winterized and glowing in the moonlight.
I had originally thought I’d only do this wall for winter, but after all the work, I’m not sure I would have taken it down. I moved out in April, so didn’t do it, knowing the whole thing would need to come down when I left. For this environment, I decided the thatch wasn’t the best idea, I should have done debris to start, but it was very interesting for me and for others to see and experience.
And finally, the very sad day when I had to return her to the Earth. I cannot describe the spiritual, emotional and physical connection you have with a shelter you have built and lived in. I couldn’t even tell you how many hours I spent building and modifying this shelter, yet in half a day, she came down and was returned to the Earth. More than a few tears were spilled.
Goodbye to the most wonderful home I ever had. You will always be a part of me.